A WooCommerce migration moves your store data from one environment to another with your products, customers, and order history intact. It can feel like a big task, because the data is live and the cost of losing a field is real. The work is manageable once you break it into a sequence: back up, export, rebuild, import, then verify what actually landed.
This guide walks through each step so you can move your WooCommerce store safely. Whether you’re migrating from a Shopify store, moving to a new host, or rebuilding your current setup, careful planning reduces errors and avoids data loss.
In this article, we’ll cover how to prepare, how to choose your migration method, the step-by-step process, post-migration tasks, and the problems that come up most often. So, let’s get started!
Table of Contents
Preparing For Migration
A WooCommerce migration is the process of moving store data from one website environment to another, covering products, orders, customers, and store settings. That might mean switching hosts, promoting a development site to live, or restructuring an existing store. Preparation is what separates a quiet migration from a weekend of recovery.
- Start with a full WooCommerce backup of your WordPress site, including your database, media files, plugin data, and WooCommerce-specific settings.
- Put your source store in maintenance mode to stop customers placing orders during the process. Tools like WP Maintenance Mode or SeedProd can help with this.
- Check your themes, custom code, and plugins for compatibility with your target store’s PHP and MySQL versions.
- Note your permalink structures, user roles, shipping methods, and tax settings, because these need replicating rather than importing.
These steps prevent the avoidable errors. Once you’re confident the current store is backed up and reviewed, decide how you want to carry out the migration itself.
Choosing The Right WooCommerce Migration Method
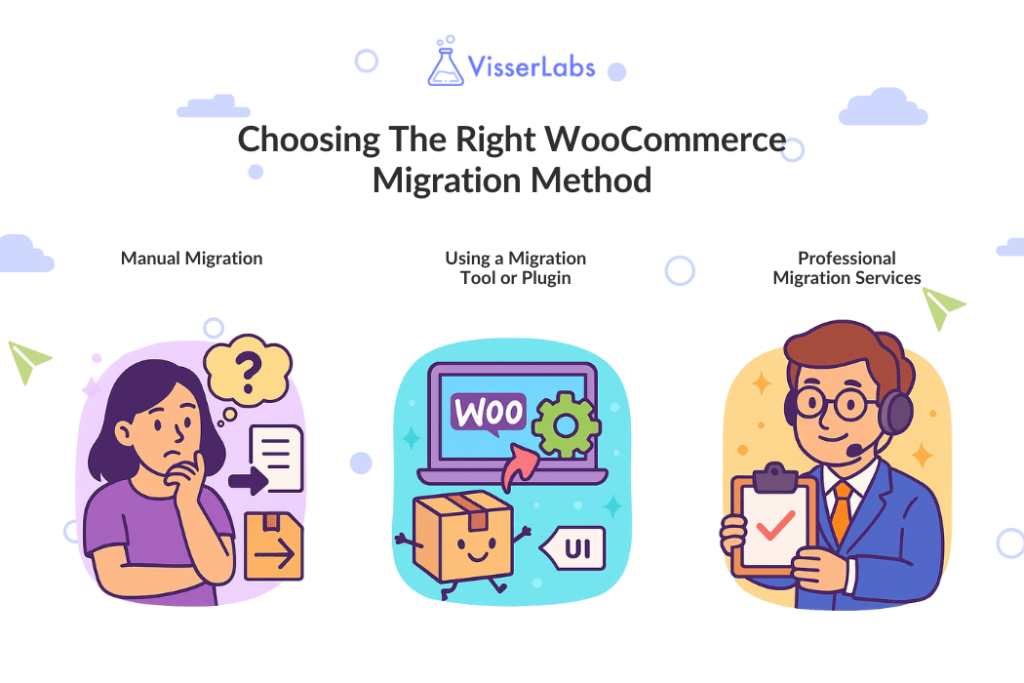
Your migration method should match your store size and technical setup. There are three realistic routes: do it manually with the built-in tools, use plugins to handle the export and import, or hand the job to a migration service. Cost rises and control falls as you move down that list.
Manual migration
You can migrate manually using WooCommerce’s built-in import and export tools. This works for small to medium stores and costs nothing, but it asks for attention to detail.
You’ll handle one dataset at a time, move images separately, and accept that order IDs may not carry across. The built-in tools cover products; orders and customers need another route.
Using a migration plugin
Plugins automate the slower steps. Look for field mapping, support for the data types you actually hold, and the ability to re-import over existing records without creating duplicates.
That last one matters more than most store owners expect. The first pass through real data almost always surfaces mismatched fields or dropped attributes, which is what separates the stronger WooCommerce migration plugins from those built for a clean one-shot transfer.
Professional migration services
Large stores and complex custom setups may be better served by a migration service. They handle edge cases like subscription data, and platform-to-platform moves such as Shopify into WooCommerce.
The trade is iteration. A service run is priced per transfer, so corrections after the fact cost another run, where a plugin workflow lets you re-import for free.
Step-By-Step WooCommerce Migration Process
Run the migration in this order: export your data, set up the new store, import products first and then customers and orders, move the media files, and test before anyone else sees it. The sequence exists to protect relational data, because orders reference products and customers that need to exist first.
Step 1: Export store data

Start by exporting from the source store: product data including SKUs, categories and variations, customer data with billing and shipping details, and order data with history and statuses.
WooCommerce’s built-in exporter covers products in CSV. For orders, customers, subscriptions, or fields written by third-party plugins, you’ll need an export plugin with wider coverage.
Getting the file out is only half the job. How you import customers into WooCommerce on the destination side depends on your list size and whether the CSV columns line up with WordPress field names, since WooCommerce has no native way to bring customer records back in.
Step 2: Set up the new WooCommerce store
Install a fresh copy of WordPress on your target environment, then install WooCommerce and configure the basics: payment gateways, tax rates, and shipping zones.
Match the permalink settings, currency options, user roles, and installed plugins from the source store. Mismatched permalinks are a common cause of broken URLs after cutover.
Step 3: Import store data
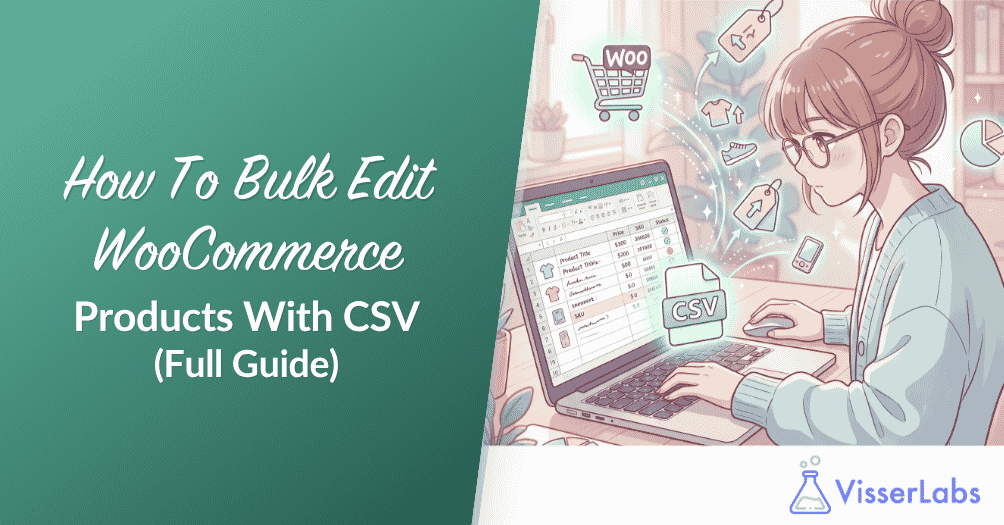
Use WooCommerce’s built-in product CSV importer for products. Go to Products, All Products, Import, upload your CSV, and work through the column mapping screen, which auto-maps the headers it recognizes and lets you set the rest by hand.
Import products first, then customers and orders. This sequence prevents reference errors, because an order needs its products and its customer to already exist.
- Variable products import in two passes: parents first with
Typeset tovariable, then variations withTypeset tovariationand aParentcolumn referencing the parent by SKU or ID. - Re-runs are safe if you tick “Update existing products”: the importer then matches on SKU or ID instead of creating duplicates.
- Custom fields travel in
meta:prefixed columns, so third-party plugin data can come across if you know the meta key.
Test each batch by checking sample records on the frontend and backend. If something looks off, pause and verify the mapping before continuing.
Step 4: Transfer media files
Your store’s images and downloadable files live in the /wp-content/uploads/ directory. Use FTP or your host’s file manager to move them across.
After transferring, regenerate thumbnails to fix broken image references, then check the frontend to confirm galleries and featured images display correctly.
Step 5: Test the migrated store
Verify the catalog first. Check product prices, attributes, and inventory levels, then confirm customer profiles, order history, and email addresses appear as expected.
Place test orders to confirm payment gateways, checkout flow, and automated emails. Look for problems with shipping rates, tax calculations, and coupons.
Have at least one other person review the store. A second pair of eyes catches the visual problems you’ve stopped seeing.
Post-Migration Tasks
Once the data is across, the remaining work protects your search rankings and your checkout. If URLs changed, set up 301 redirects from the old site to the new one. Google treats a permanent redirect as the signal that the new URL should be canonical, and advises keeping redirects live for at least a year.
Update DNS to point your domain at the new hosting environment. Propagation can take up to 48 hours, so lower your TTL a day beforehand.
Install or reissue your SSL certificate for secure checkout, then monitor error logs, performance, and analytics for at least a week. Turn maintenance mode off only once you’ve confirmed the site is stable.
Common WooCommerce Migration Issues And Fixes
Most migration problems fall into four buckets: missing images, mismatched data, plugin conflicts, and lost SEO settings. Catching them in the first week is the difference between a short fix and a recovery project.
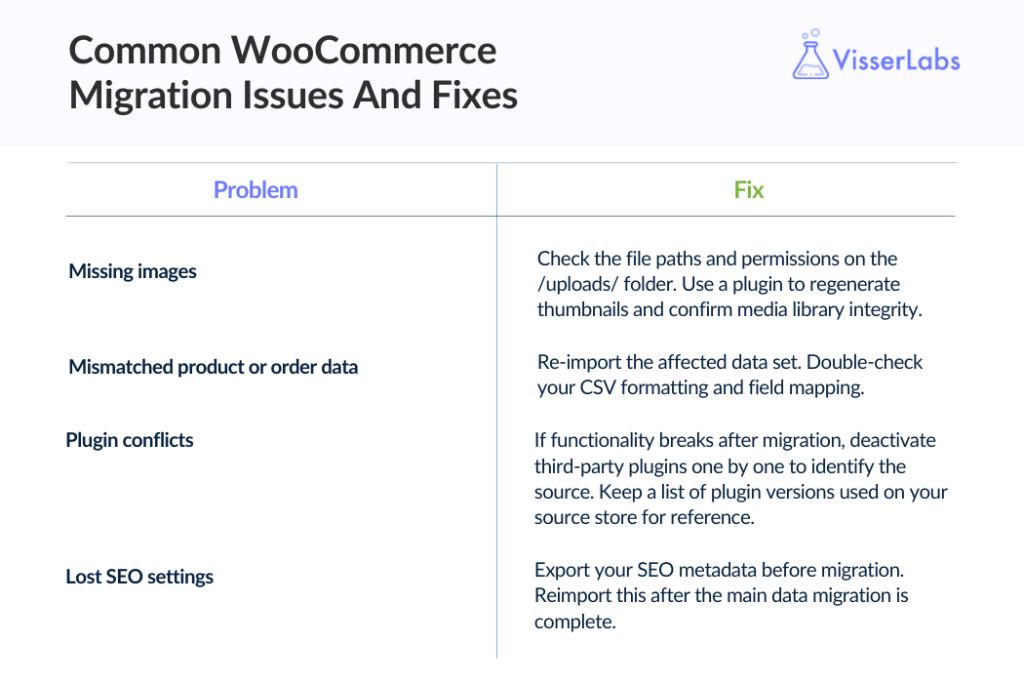
1. Problem: missing images
Check the file paths and permissions on the /uploads/ folder, then regenerate thumbnails and confirm media library integrity.
2. Problem: mismatched product or order data
Re-import the affected dataset with update-by-SKU enabled so you correct records instead of duplicating them. Double-check your CSV formatting and field mapping first.
3. Problem: plugin conflicts
If functionality breaks after migration, deactivate third-party plugins one at a time to find the source. Keep a list of plugin versions from your source store for reference.
4. Problem: lost SEO settings
Export your SEO metadata before migrating if you use a plugin like Yoast, then reimport it after the main data migration finishes. Titles and meta descriptions live in post meta, so they don’t travel with a plain product export.
How Store Exporter Deluxe Helps During Migration
A migration is only as good as the file you start from, and WooCommerce’s built-in exporter covers products in CSV and nothing else. That’s the gap Store Exporter Deluxe fills: it exports products, orders, customers, coupons, subscriptions, reviews, categories, and attributes across 125+ plugin integrations, to CSV, TSV, XLS, XLSX, or XML.
Where it earns its place in a migration
- Third-party plugin data: the 125+ integrations pull fields written by extensions like Subscriptions and Bookings, which generic exports leave behind.
- Filtered exports: export only the fields or date ranges you’re moving, which keeps the file small enough to check by hand.
- Saved templates and scheduling: reuse the same export configuration, delivered by email, FTP or SFTP, a file path, or a cloud endpoint.
It exports rather than imports, so it pairs with WooCommerce’s built-in importer on the destination side. It’s $49/yr for a single site with a 14-day money-back guarantee, and there’s a free Store Exporter on WordPress.org if you’d rather test the workflow first.
Export again after you migrate
Run a second export once the new store is live and diff it against the file you started with. Product, customer, and order counts should reconcile, minus your test data.
This is the check that catches silent gaps: a handful of orphaned variations, a missing tag, a category that didn’t map. In week one it’s a short fix.
Conclusion
A WooCommerce migration takes planning, but it doesn’t have to be complicated. Whether you’re moving from another platform or between WooCommerce setups, a clear sequence is what keeps downtime and data loss off the table.
Here’s a quick recap of what we covered:
- Preparing for migration, starting with a full backup and a maintenance window
- Choosing your method: manual, plugin-assisted, or a migration service
- The step-by-step process, importing products before customers and orders
- Post-migration tasks, including 301 redirects kept live for at least a year
- Common issues and fixes for images, data mismatches, plugins, and SEO
- How a fuller export covers the data the built-in tools don’t reach
If you’re ready to start your WooCommerce migration with a complete picture of your store’s data, see how Store Exporter Deluxe handles the export.
Frequently Asked Questions
How do you migrate customers only?
To migrate customers only, export just the customer records from your source store, then format that CSV to match WordPress and WooCommerce field names before importing. WooCommerce has no native customer importer, so the destination side needs either a plugin that handles user records or a formatted import through your chosen tool.
How do you migrate a store with thousands of products?
Split the catalog into smaller CSV files and import them in batches, checking each batch before running the next. If your server times out mid-import, raise the PHP memory limit and maximum execution time, which WordPress’s common errors documentation covers.
Can you preserve order IDs during a WooCommerce migration?
Not reliably. Order IDs are assigned by the destination database, so preserving them depends on how the receiving site handles imports rather than on the export. Export the original IDs into a reference column so you can still match old orders to new ones, even if the numbering changes.
Does WooCommerce have a built-in migration tool?
WooCommerce has a built-in product CSV importer and exporter, but no full migration tool. It moves products, updates them by ID or SKU, and handles custom data through meta: columns. Orders, customers, coupons, and subscriptions sit outside it, which is why most migrations combine the built-in tools with at least one plugin.
How long does a WooCommerce migration take?
A small store with a few hundred products and simple variations usually takes a few hours of hands-on work. Larger catalogs, order history, and third-party plugin data push it to a full day or a weekend. The freeze window, when you stop taking orders on the source store, is normally much shorter than the total project.