
Selling in more than one language means WPML keeps a separate copy of every product, category and tag for each language. When you only need one language in your file, for a translator, a regional marketplace or a price check, you don’t want to clean up the extra rows by hand.
Store Exporter Deluxe can filter your export by WPML language and add a Language column to it. This guide shows you how to confirm the integration is on, filter Products, Categories and Tags by language, and run the same Products filter on a schedule.
Prerequisites
| Requirement | Details |
|---|---|
| Plugin | Store Exporter Deluxe 5.4.6 or later is active and licensed |
| Multilingual plugins | WPML Multilingual CMS is active. WooCommerce Multilingual is also active for the Products filter and the Language field |
| Languages | At least two languages are set up in WPML, and your products, categories or tags have translations |
How it works
When WPML Multilingual CMS and WooCommerce Multilingual are both active, Store Exporter Deluxe adds two things. You get a Language filter on Products exports, and a Language field you can add to Products, Orders, Categories and Tags exports.
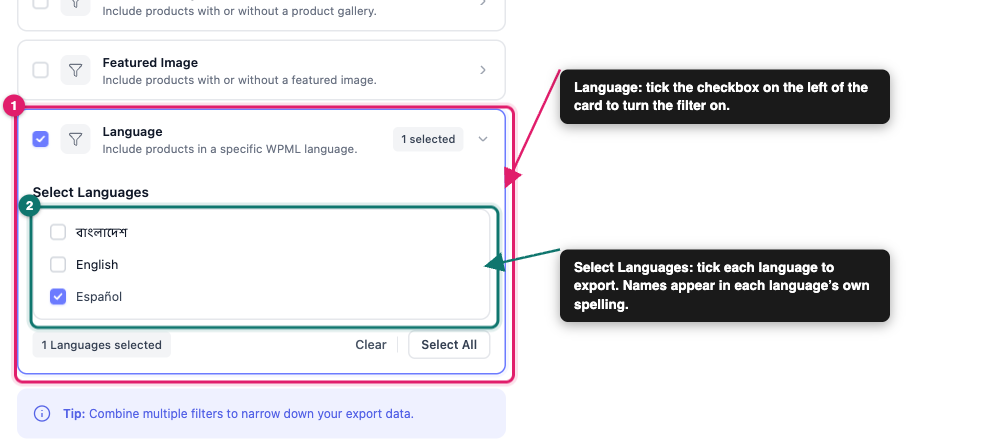
The Language field shows each item’s language by its English name, such as French. The language list in the filter shows each language by its own name, such as Français.
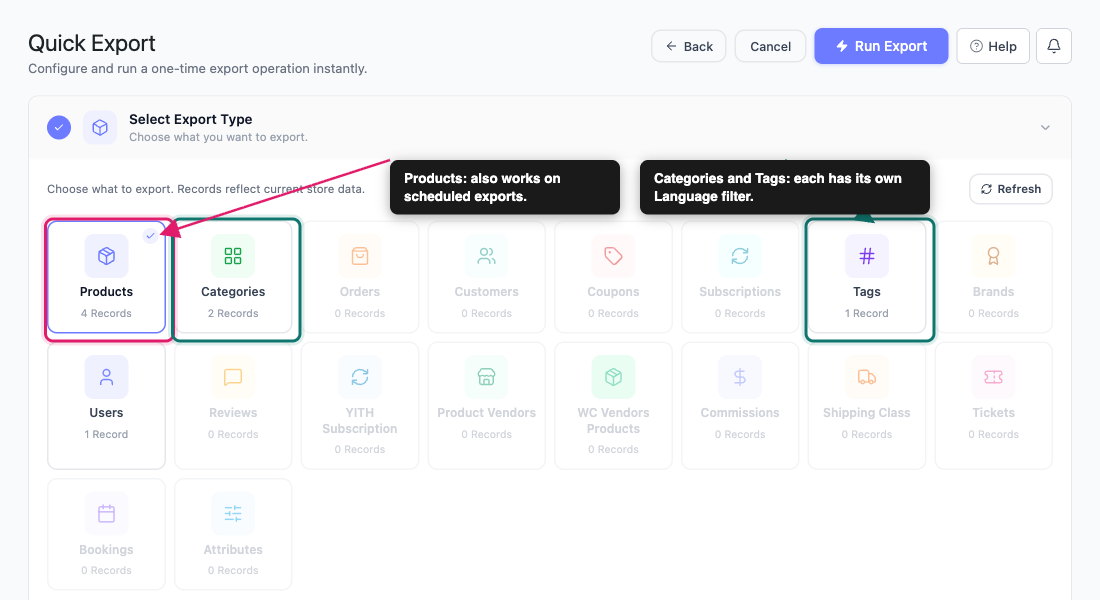
Categories and Tags exports get their own Language filter in Quick Export. It appears when WPML translates that taxonomy and your store has more than one language. This filter works with WPML Multilingual CMS or Polylang, and it doesn’t need WooCommerce Multilingual. If you don’t pick a language, a Categories or Tags export only includes terms in your current WPML admin language.
Step 1: Confirm the integration is active
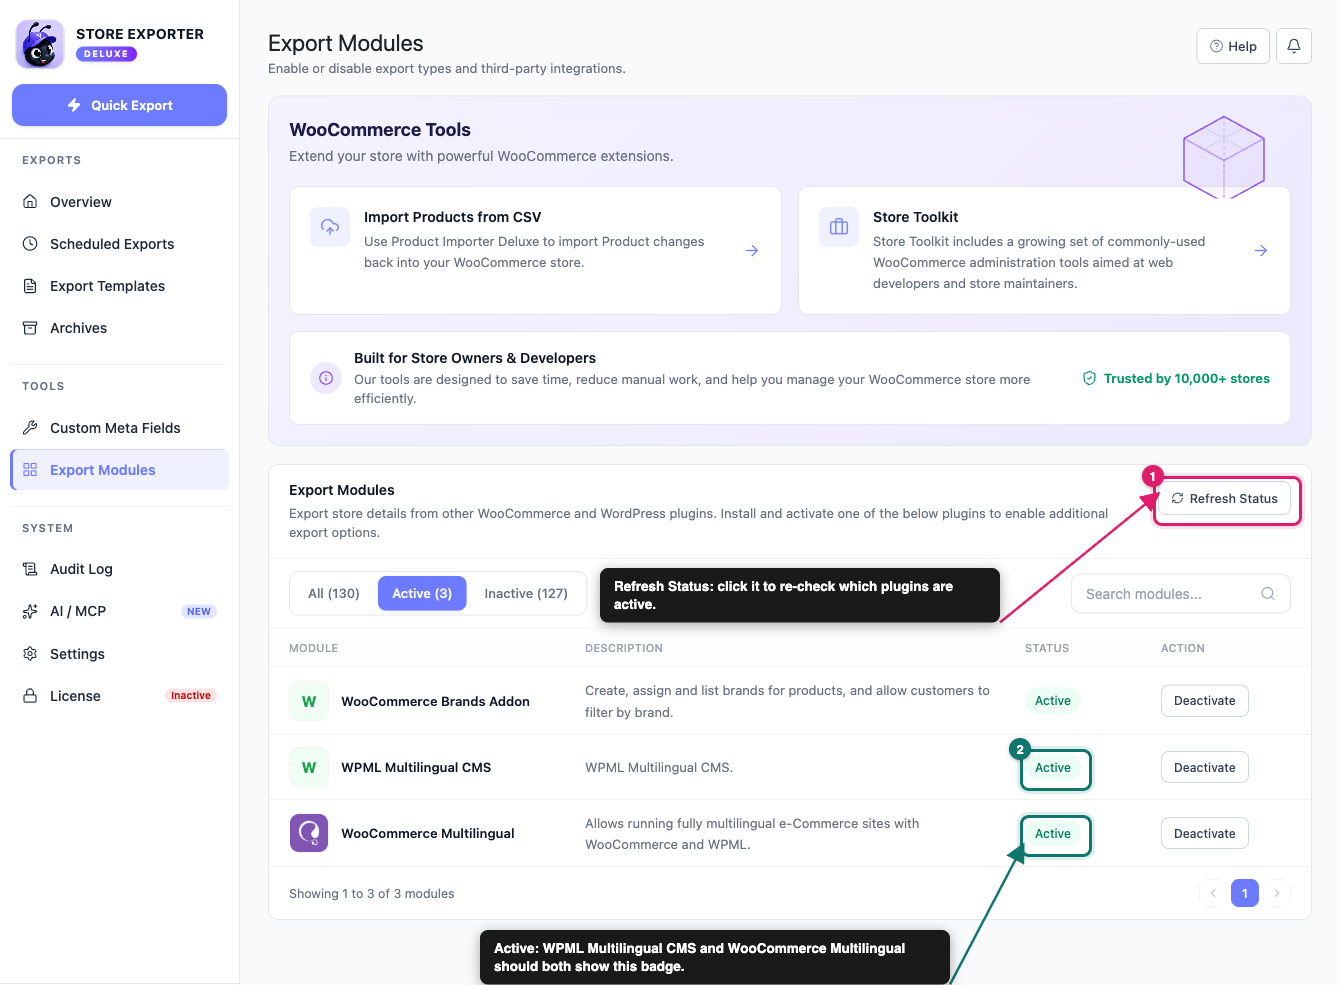
- Go to WooCommerce → Store Export.
- Click Export Modules in the sidebar.
- Click Refresh Status.
- Click the Active tab.
- Check that WPML Multilingual CMS and WooCommerce Multilingual both show Active.
Step 2: Filter a Quick Export by language
Choose the export type
- Click Quick Export in the sidebar.
- Under Select Export Type, select Products, Categories or Tags.
Add the Language field
This step is optional. Add the field if you want a column in your file that shows each row’s language.
- On the Export Fields step, click Add more fields.
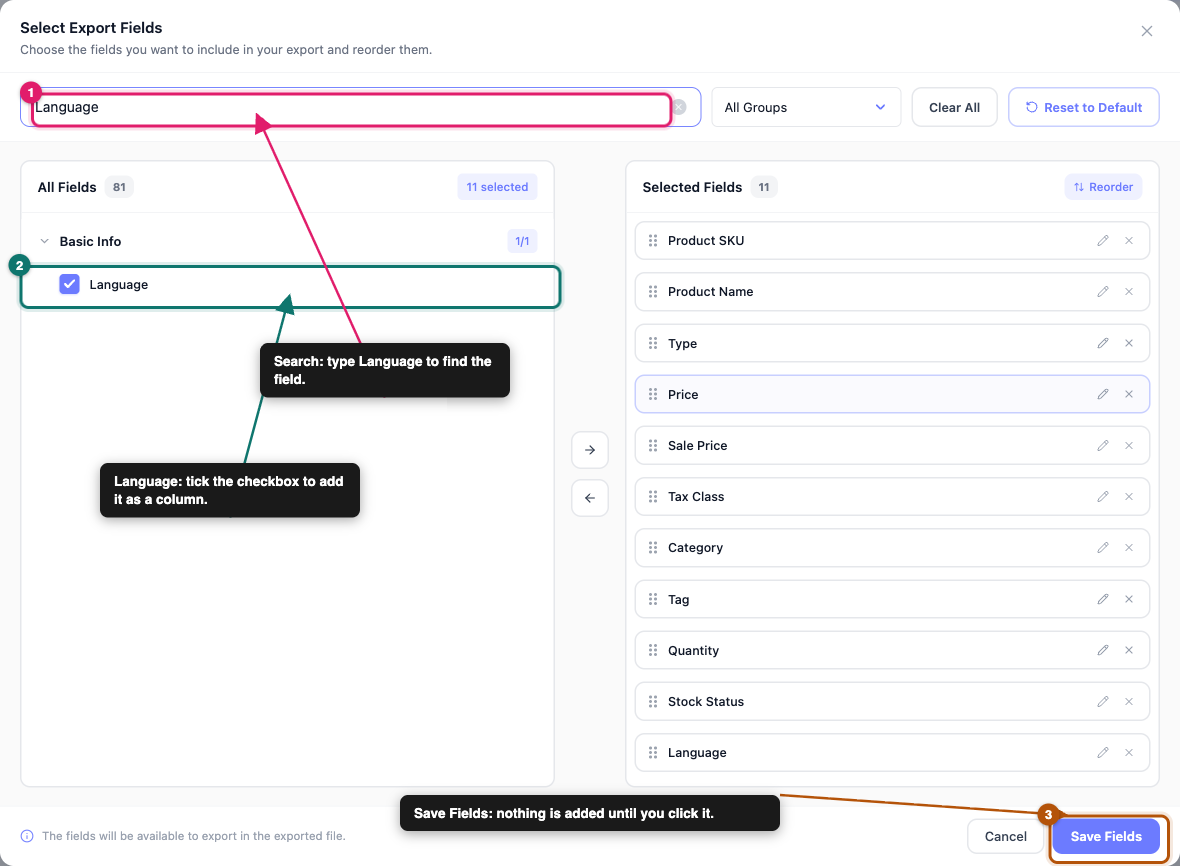
- In the Select Export Fields popup, type Language in the search box.
- Tick Language.
- Click Save Fields.
- Click Continue.
Pick the languages to export
- On the Filters & Sorting step, find the Language card.
- Tick the checkbox on the left of the Language card.
- Click the card to open it.
- Under Select Languages, tick each language you want to export.
- Click Continue.
Run the export
- On the Export Options step, choose a File Format.
- Click Continue.
- Click Run Export.
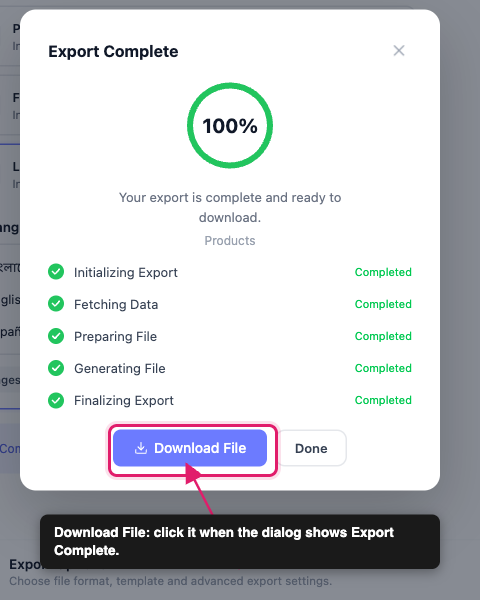
- When the dialog shows Export Complete, click Download File.
Step 3: Filter a scheduled Products export by language
The Products Language filter also works on scheduled exports. The Categories and Tags Language filter is only in Quick Export.
- Click Scheduled Exports in the sidebar.
- If you see Scheduled exports are currently disabled at the top of the page, click Enable Scheduled Exports.
- Click New Schedule.
- On the General step, set Export Type to Products.
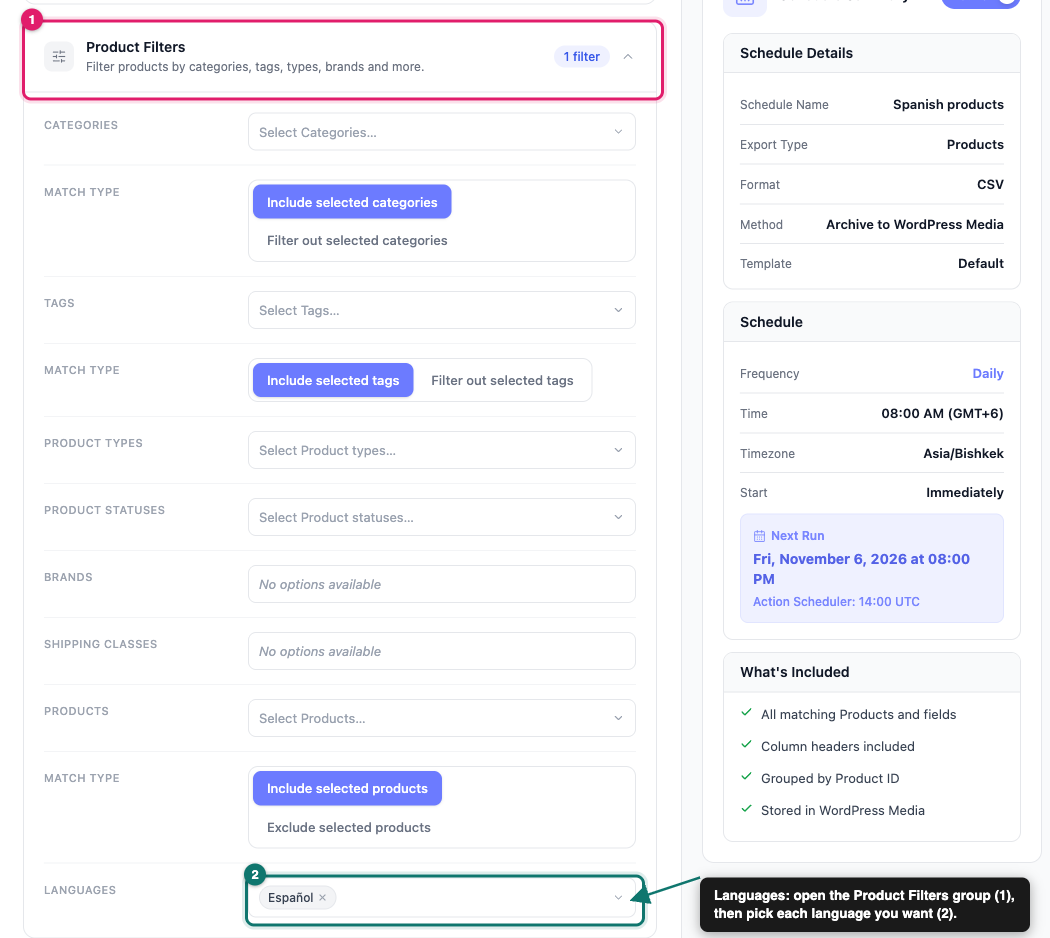
- On the Filters step, open the Product Filters group.
- In the Languages row, open the Select Languages… dropdown and pick each language you want.
- Finish the Method, Scheduling and Advanced steps.
- Click Create Schedule.
Troubleshooting
Frequently asked questions
Need help?
If you have a question or run into any issues, we’re here to help.
- Premium users: Open a support ticket
- Free users: Visit our community forum. WPML language filtering is only available in Store Exporter Deluxe.