
A repeat problem customer or a fraudulent order doesn’t stop just because you canceled it once. If they check out again with the same name or email, you’re back to canceling and refunding by hand. Checkout Guard stops that from happening by letting you maintain a list of blocked entries that Checkout Guard checks on every order.
This article covers adding, editing, and deleting blocked entries in the Blocked Entries list, using the * wildcard to block a whole pattern of names or emails, plus how Checkout Guard decides whether a checkout attempt matches one of your entries. Before you start, make sure Checkout Guard is installed, active, and licensed on your site. For the initial setup, see Getting started with Checkout Guard.
Understanding the blocked entries list
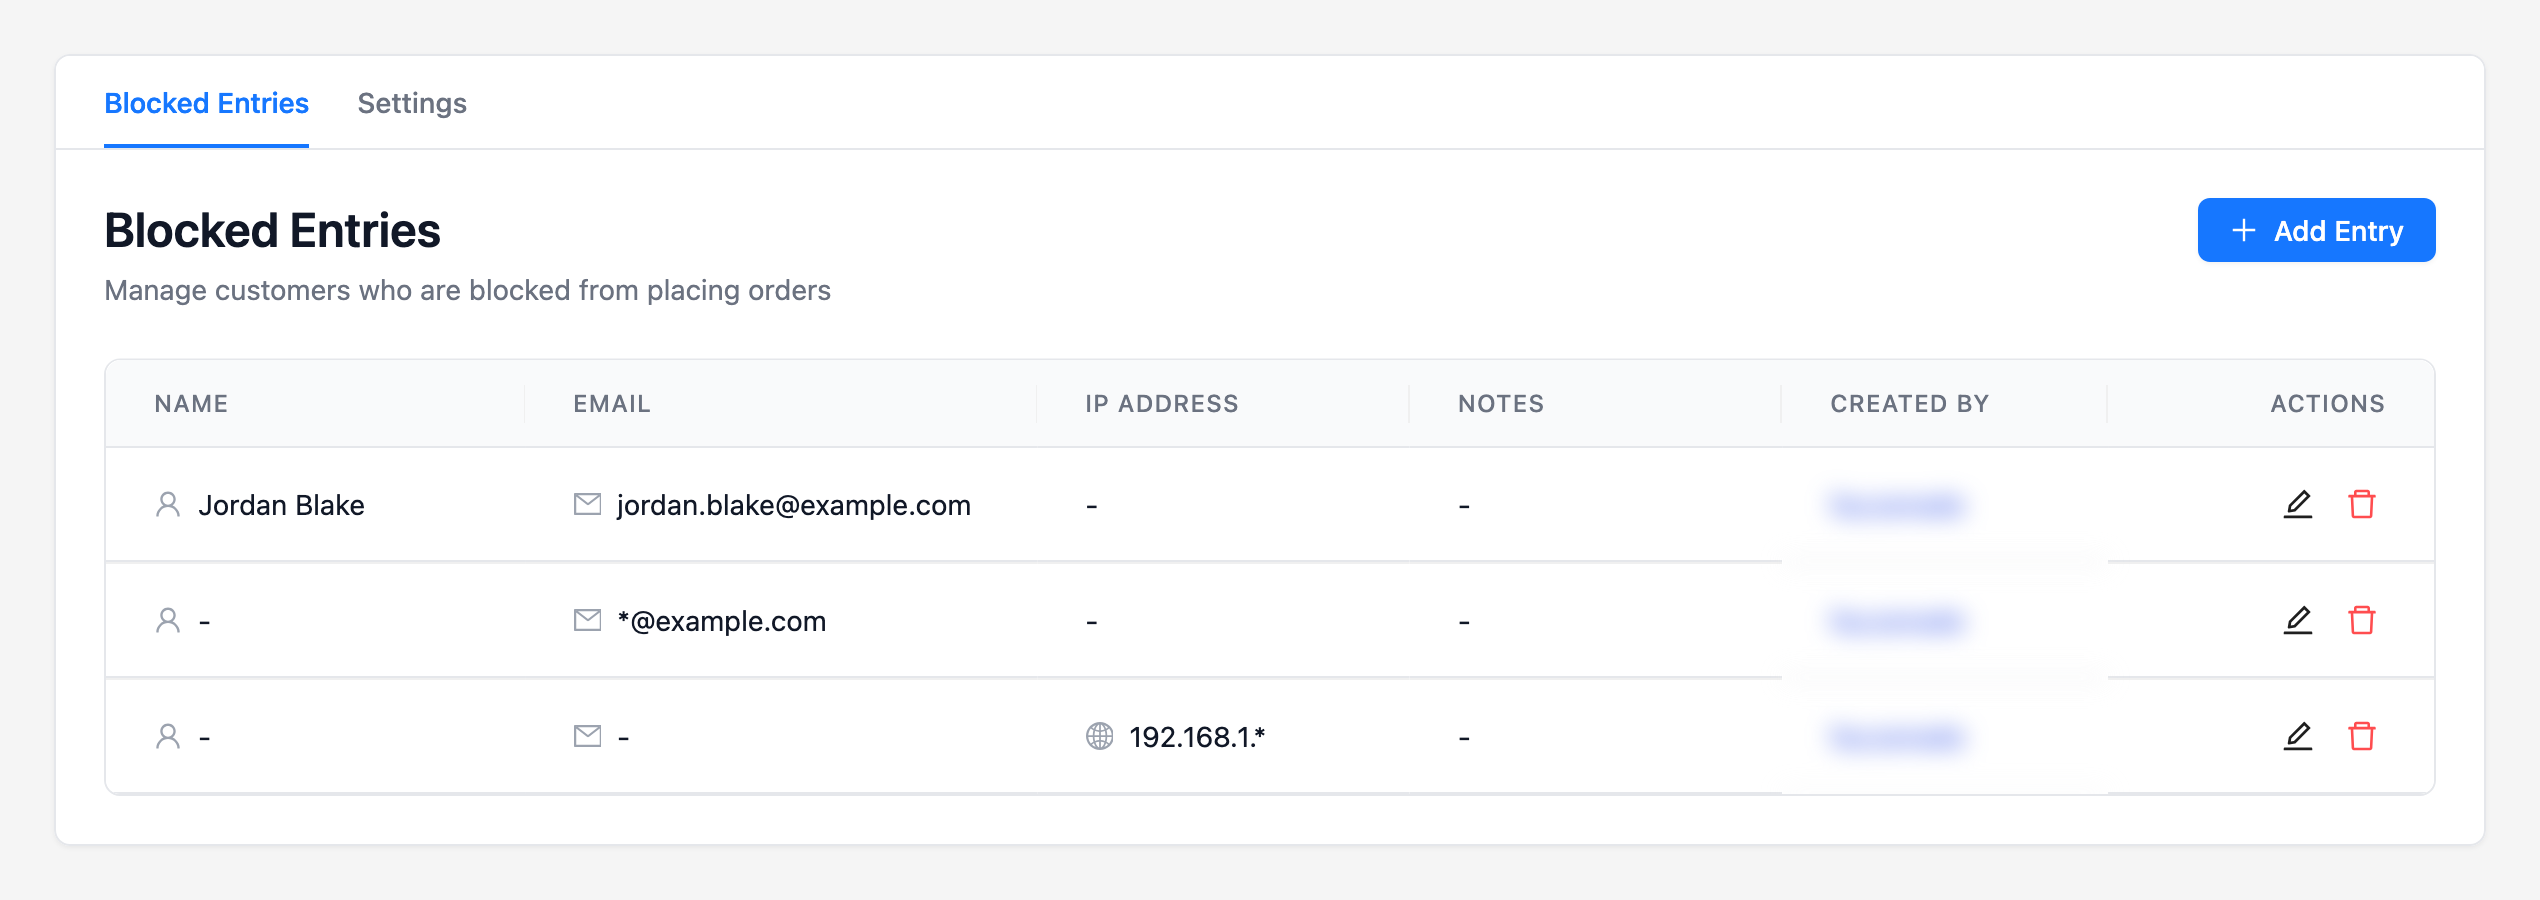
Go to WooCommerce → Checkout Guard. The Blocked Entries tab opens by default and shows every entry you’ve added, as a table with these columns:
| Column | What it shows |
|---|---|
| Name | The blocked customer’s first and last name, if you added one |
| The blocked customer’s email address, if you added one | |
| IP Address | The blocked IP address or IP pattern, if you added one. See How to block customers by IP address in Checkout Guard |
| Notes | A note saved with the entry, if it has one |
| Created By | The admin user who added the entry, or System if it wasn’t added by a logged-in user |
| Actions | Edit and delete icons for that entry |
On a fresh install, the list is empty and shows No blocked entries instead of a table. Once you add your first entry, it appears in the list immediately, and Checkout Guard starts checking new checkout attempts against it right away. There’s no separate toggle to turn blocking on.
Adding a blocked entry
- Click Add Entry (or Add First Entry if your list is empty). This opens the Add Blocked Entry dialog.
- Enter the customer’s First Name and Last Name if you’re blocking by name.
- Enter the customer’s Email Address if you’re blocking by email.
- Enter the customer’s IP Address if you’re blocking by IP. For the address formats Checkout Guard accepts, see How to block customers by IP address in Checkout Guard.
- Click Save Entry.
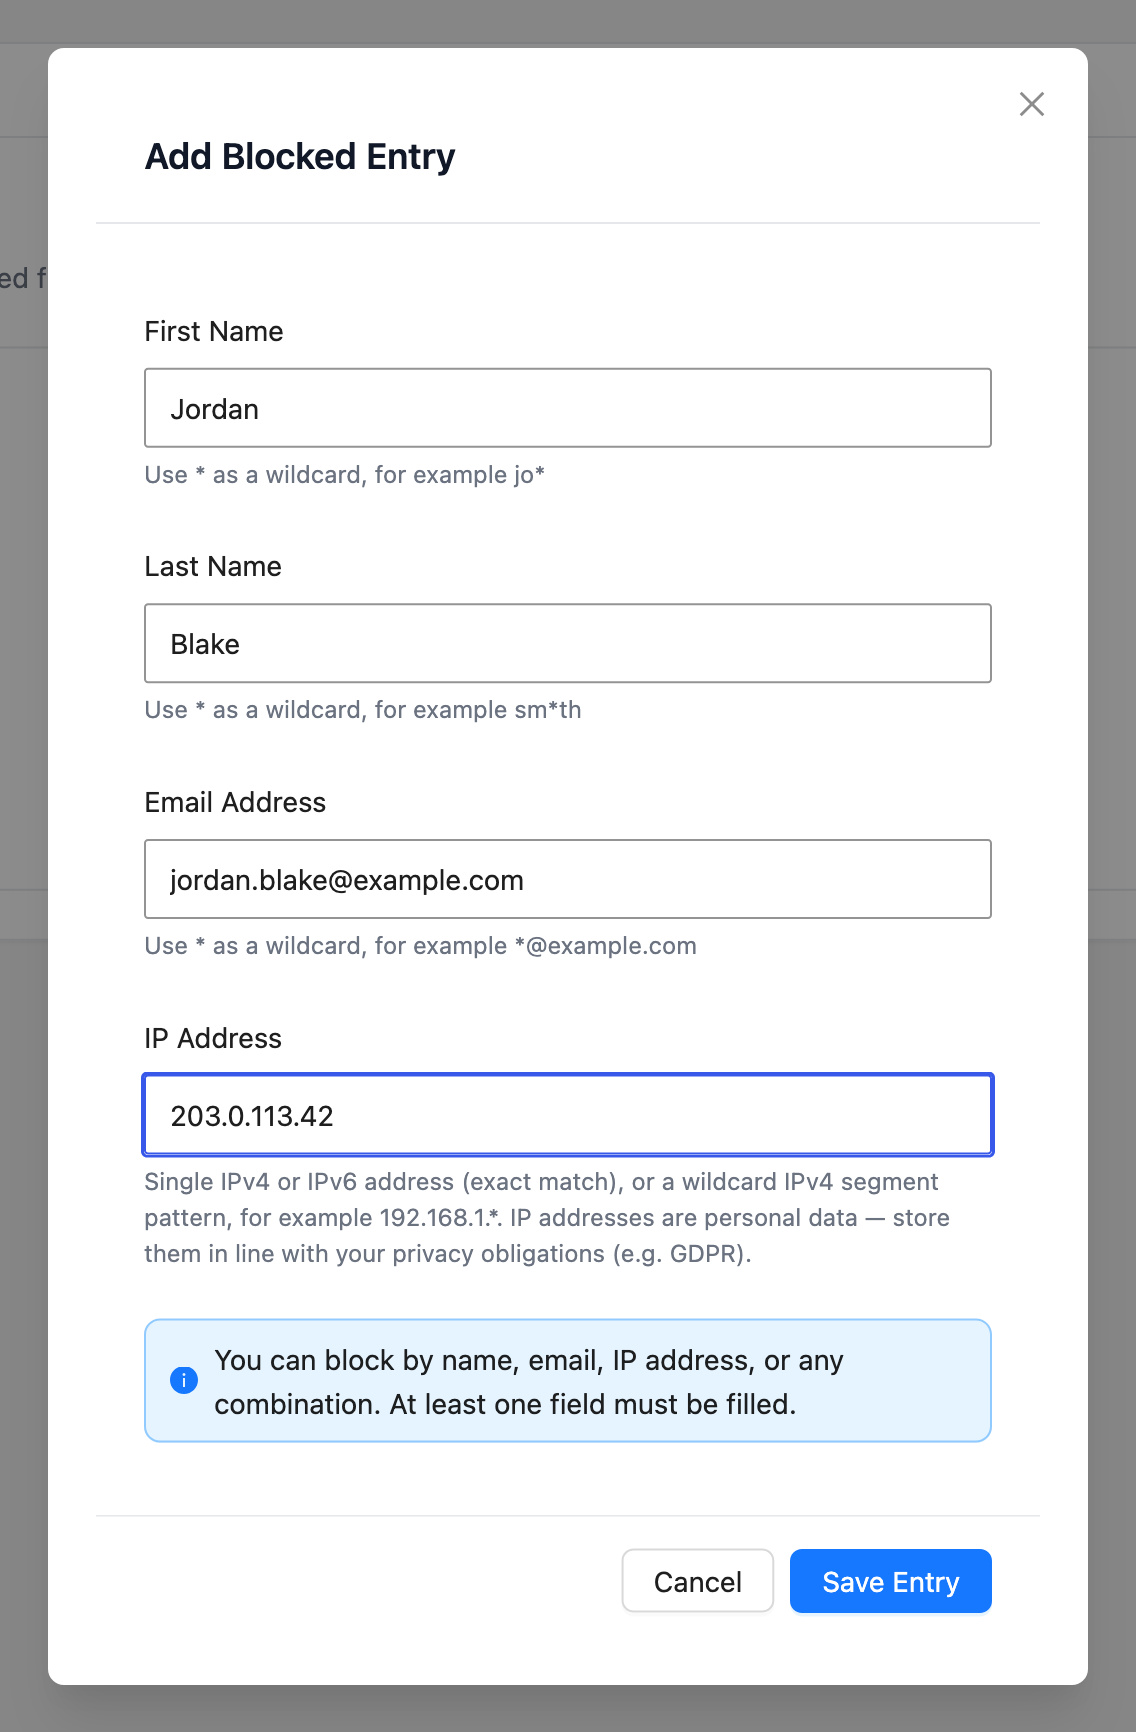
The dialog shows a reminder above the buttons: “You can block by name, email, IP address, or any combination. At least one field must be filled.” So you don’t need to complete every field. Fill in a name, an email, an IP address, or any combination, and Checkout Guard blocks on whichever fields you’ve provided. Once you click Save Entry, a confirmation reading Entry created appears and the new entry shows up in your Blocked Entries list straight away.
Block a pattern with the * wildcard
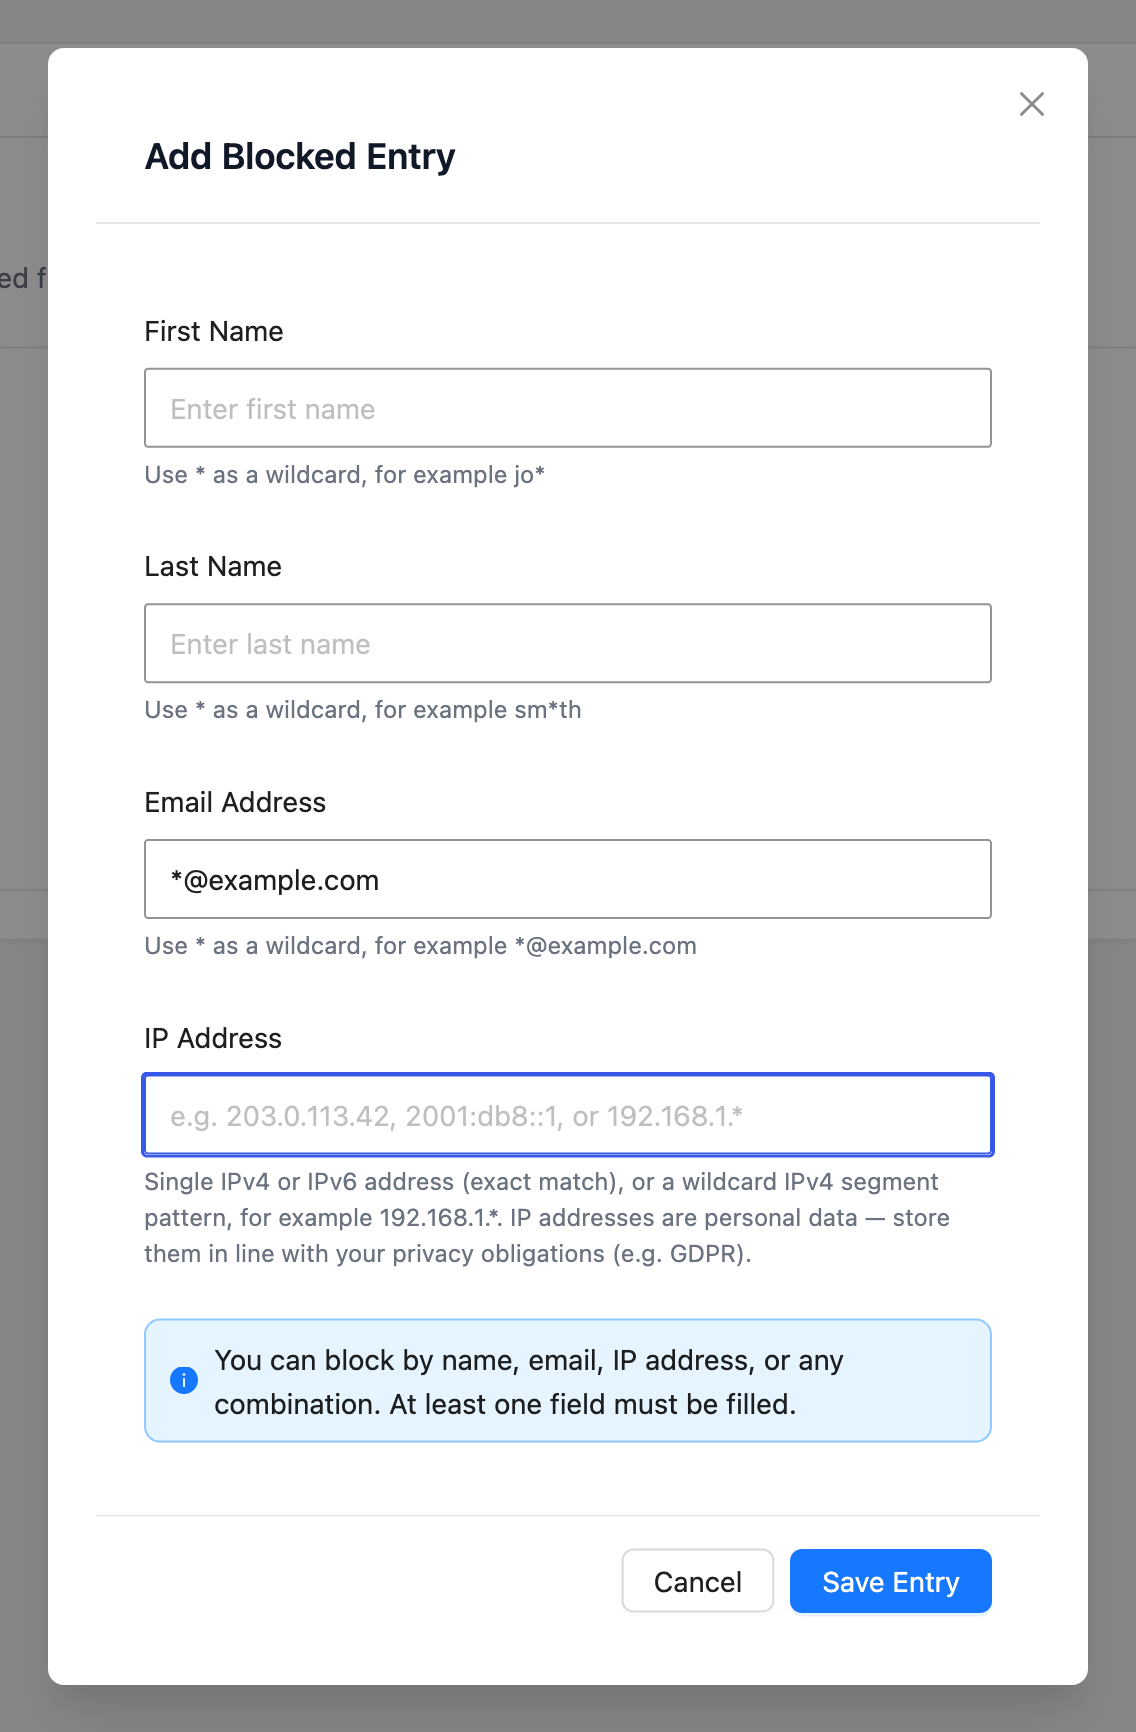
Each name and email field accepts a * wildcard, and the hint under each field shows an example: jo* for First Name, sm*th for Last Name, and *@example.com for Email Address. A * stands for any run of characters, including none. Everything else in the value has to match exactly, and matching ignores upper and lower case.
| Rule | Blocks | Does not block |
|---|---|---|
| Email Address *@example.com | Every address at example.com, such as [email protected] or [email protected] | [email protected] |
| First Name jo* and Last Name smith | Jo Smith, Joanna Smith, Joe Smith | Jo Smithson, because the last name must match exactly |
| Last Name sm*th and First Name sam | Sam Smith, Sam Smyth | Sam Smithers |
A few rules apply to wildcards:
- A name rule with a wildcard still needs both First Name and Last Name filled in. Checkout Guard never matches on a first name or a last name alone.
- Each field can hold up to five * characters.
- A value made only of * and separators, such as *, *@*, or *.*, is rejected, because it would block every customer. Add at least one real character.
- For IP ranges, such as 192.168.1.*, see the wildcard section in How to block customers by IP address in Checkout Guard.
Editing a blocked entry
- Find the entry in your Blocked Entries list.
- Click the edit icon in the Actions column. This opens the Edit Blocked Entry dialog, pre-filled with the entry’s current values.
- Change any of the First Name, Last Name, Email Address, or IP Address fields.
- Click Save Entry.
Checkout Guard still requires at least one of First Name, Last Name, Email Address, or IP Address to be filled in, so you can’t save an edit that clears every field. After saving, you’ll see an Entry updated confirmation, and the list refreshes with your changes.
Deleting a blocked entry
Find the entry in your Blocked Entries list and click the delete icon in the Actions column. A small confirmation prompt appears next to the button asking Delete this entry?, with Delete and Cancel options. Click Delete to confirm. The entry is removed from the list right away, and an Entry deleted confirmation appears.
Once an entry is gone, that customer can check out normally again on their next attempt. Deleting an entry doesn’t change or cancel any orders they placed while they were blocked.
How matching works at checkout
Whenever someone attempts to check out, Checkout Guard compares the billing name and email they entered, and the IP address their device uses, against every entry in your Blocked Entries list. The name and email comparison isn’t case-sensitive. A rule that contains * is treated as a pattern, as described above. If an entry has both a First Name and Last Name, both parts have to match the billing name together before that entry blocks the order. If an entry has only an Email Address, Checkout Guard blocks the order as soon as the billing email matches, regardless of the name. An IP Address rule works the same way on its own, and that comparison is case-sensitive. See How to block customers by IP address in Checkout Guard for the details. This check runs the same way whether your store uses the classic checkout or WooCommerce’s Block Checkout, so a blocked entry stops an order either way.
Troubleshooting
FAQ
Need more help?
Checkout Guard is a licensed plugin. If you run into trouble managing your blocked entries, open a support ticket, and our team will help you sort it out.
