Running a WooCommerce multi-vendor marketplace gives your store the opportunity to grow faster and offer more than a single-seller setup ever could. With the right tools, you can invite multiple vendors to sell their products, manage their own stores, and thrive within your marketplace.
It’s a smart model for store owners who want to scale without stocking more inventory. As your vendors grow, your marketplace becomes more competitive and profitable.
This guide shows you how to set up a WooCommerce multi-vendor marketplace using practical steps and real tools that simplify the entire process.
What Is A WooCommerce Multi-Vendor Marketplace?
A WooCommerce multi-vendor marketplace is a WordPress-powered store where multiple sellers, known as vendors, can sign up and sell their own products. Each vendor controls their listings and handles order fulfillment. Meanwhile, the site owner earns a commission from every sale.
Unlike a single-seller WooCommerce store, a multi-vendor marketplace spreads out product management. Basically, this approach mirrors platforms like Etsy or Amazon, where various independent sellers offer their products in one place.
Why You Should Start A Multi-Vendor Marketplace

Setting up a vendor marketplace offers several advantages:
- Product variety: Multiple vendors can list different types of products.
- Shared responsibility: You don’t have to manage inventory or fulfillment.
- Scalable earnings: You earn commissions from every sale.
This model works well for niche communities or large product catalogs. It gives you flexibility to grow over time without managing every product yourself.
Now that you know the benefits, let’s look at the tools and setup you’ll need to get started.
Tools And Setup Requirements
Before getting started, make sure your foundation is solid by preparing the key technical requirements for running a multi-vendor store.
- A WooCommerce store with WordPress installed
- A fast, reliable hosting service
- SSL certificate for secure transactions
- A working payment gateway like Stripe or PayPal
- Optimize WooCommerce speed to ensure fast loading times for vendor dashboards and product pages, improving both customer experience and SEO.
A reliable toolkit helps create a more stable and scalable vendor marketplace. Below are three essential tools that work together to handle everything from vendor management to data processing.
WC Vendors
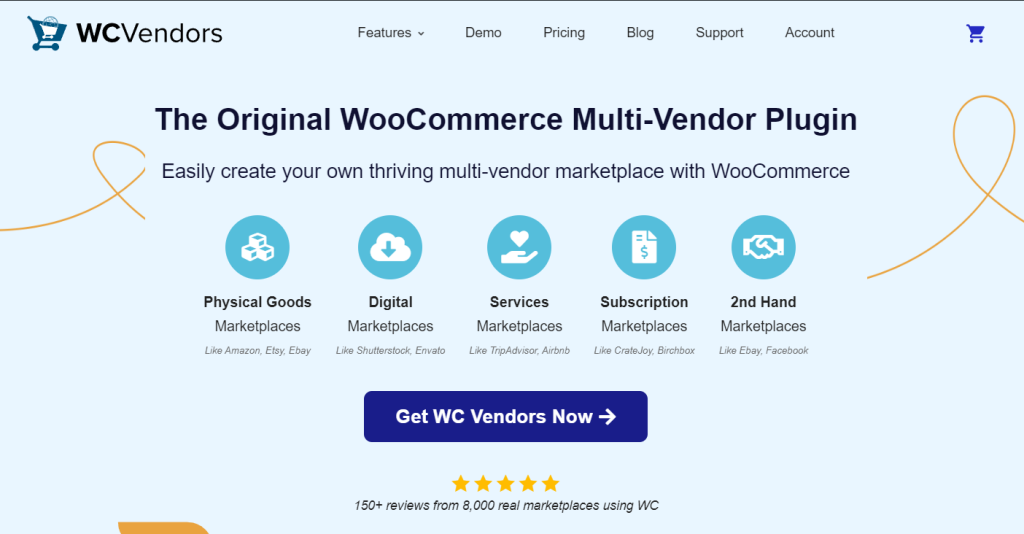
A trusted WooCommerce multi-vendor plugin, WC Vendors lets you create a vendor marketplace where sellers can manage their own stores. It provides marketplace owners with detailed control over commissions, capabilities, and the complete frontend experience.
- Supports vendor registration and approval workflows
- Offers a dedicated vendor dashboard for uploading products and managing orders
- Integrates smoothly with WooCommerce payment gateways
- Allows tiered commissions and custom capabilities per vendor
Product Importer Deluxe
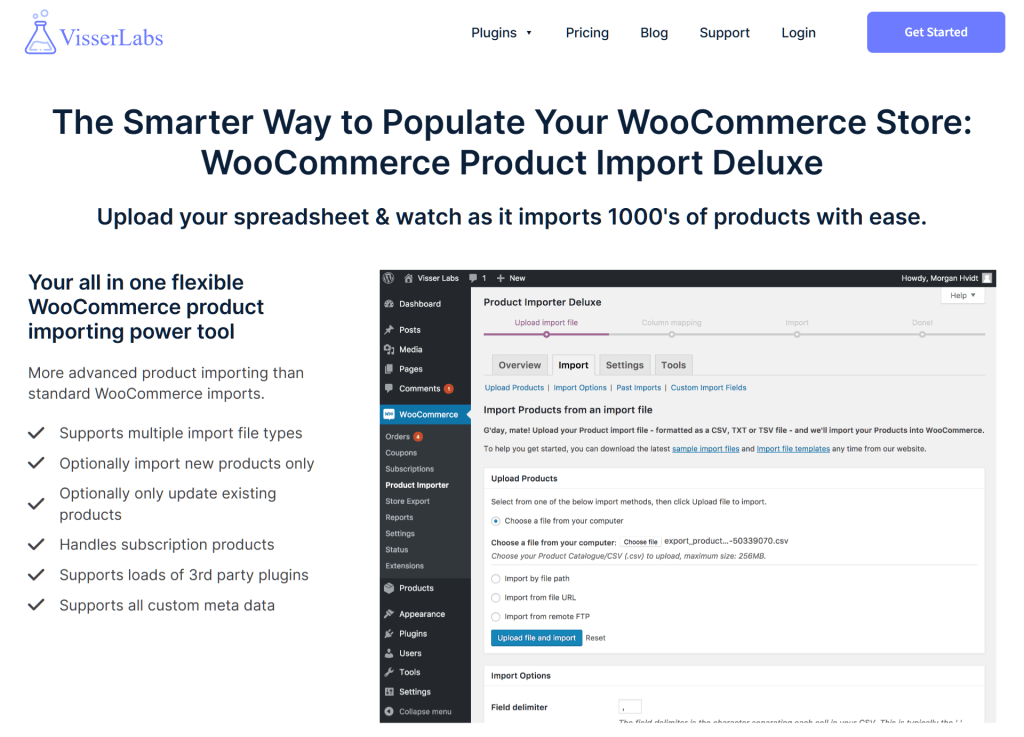
Product Importer Deluxe helps marketplace owners and vendors bulk upload product data. This becomes essential as your marketplace grows and needs to support onboarding or migration from other platforms.
- Import products with titles, images, categories, and attributes
- Supports variable products with variations
- Saves time by reducing manual uploads
- Helps maintain consistent product listings across all vendors
Store Exporter Deluxe
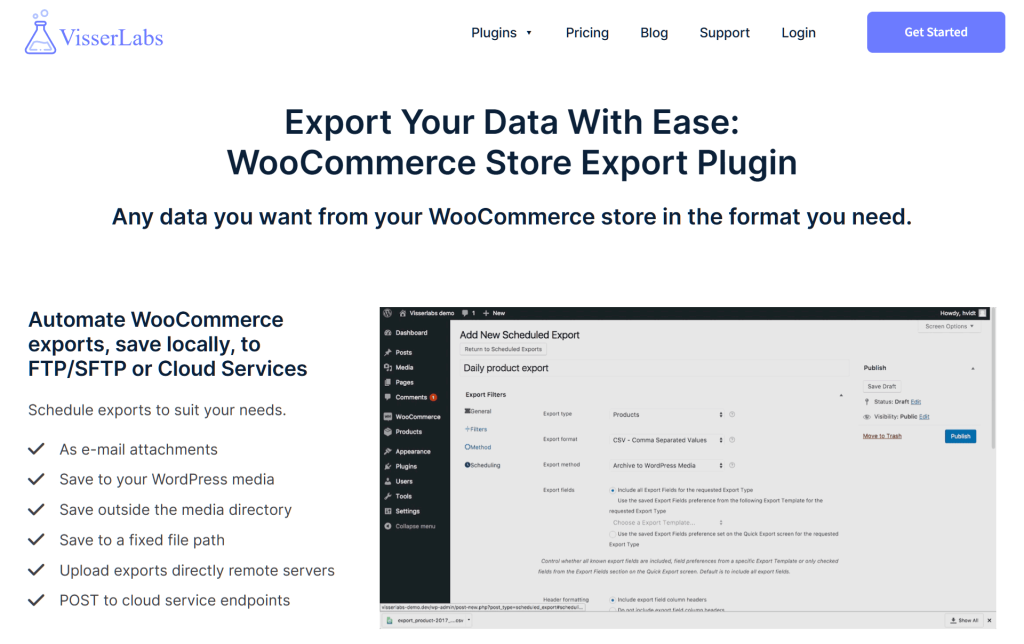
Store Exporter Deluxe enables advanced reporting by exporting vendor-specific and marketplace-wide data. It allows marketplace owners to track performance and make informed decisions.
- Export product data, order history, and customer records
- Generate vendor-specific sales reports
- Monitor fulfillment times and product activity
- Identify high-performing vendors and inventory trends
Together, these tools simplify setup, streamline vendor operations, and allow your WooCommerce multi-vendor marketplace to grow with confidence. Once your tools are ready, you can start turning your store into a full-featured vendor marketplace.
Create A Multi-Vendor Marketplace (Step-by-Step)
Once you’ve picked a plugin, it’s time to set up your marketplace in a way that supports both flexibility and structure. We’ll guide you through essential configuration steps that make your vendor marketplace functional and scalable from day one.

Step 1: Install and Configure the Plugin
Install your chosen vendor marketplace plugin and follow the setup wizard. Configure commission settings, vendor roles, and tax preferences.
Step 2: Open Vendor Registration
Allow vendors to register through your site. Customize the application form to collect the details you need for approval.
Step 3: Set Up the Vendor Dashboard
Make sure vendors have access to their own dashboard for product uploads, order tracking, and communication.
Step 4: Upload Products
Vendors can upload their catalogs manually or in bulk.
Product Importer Deluxe supports bulk product imports, including images, attributes, and variations. This is helpful if you’re migrating vendors from another platform or adding thousands of items.
To learn the step-by-step process of building a multi-vendor marketplace using WC Vendors, here’s a comprehensive guide:
How To Build Your First Multi-Vendor Ecommerce Website (Full Guide)
Manage Vendors And Monitor Performance
Running a marketplace means ensuring quality across multiple vendors. Here’s how to stay in control:
- Approve vendors manually to keep quality high
- Share store policies and selling guidelines
- Regularly check product listings and pricing
You can also use Store Exporter Deluxe to generate vendor performance reports. Track sales, fulfillment times, and product activity to see who’s performing well.
Bonus Tip: Give vendors a monthly report of their performance. This small step helps build transparency and trust.
Improve Listings And Organize Product Data

Well-structured product listings help shoppers find what they need faster. They also make your marketplace easier to manage.
Start by using consistent product categories across all vendors. This shared structure improves navigation and prevents duplicate categories.
Write clear titles and descriptions for every product. Include complete attribute data for variable products such as size, color, or material so shoppers can easily compare options.
Also, make sure all listings include SKUs, stock levels, and pricing information. Use standard labels for product variations to keep filters and searches accurate.
Export your product catalog regularly to review listings, remove outdated items, and back up data.
To keep everything organized:
- Use clear product images and add helpful tags
- Apply the same category labels across vendors
- Include full attribute data for variable products
- Standardize how descriptions and variation names are written
- Review listings often to catch errors or missing info
Accurate, consistent listings help customers shop with confidence and make vendor management simpler across your WooCommerce multi-vendor marketplace.
Bonus Tip: Optimizing product listings isn’t just good for customers—it’s good for your vendors, too. Clear, well-organized listings improve search visibility, reduce support questions, and drive more conversions. Ultimately, this means more sales for your vendors and more commissions for your store.
Conclusion
A well-structured WooCommerce multi-vendor marketplace creates new earning opportunities and supports sustainable growth. With the right plugins and smart data tools, marketplace owners can manage operations efficiently and create a thriving environment for multiple vendors.
To recap, here’s what you need to make your marketplace work:
- What Is A WooCommerce Multi-Vendor Marketplace?
- Why You Should Start A Multi-Vendor Marketplace
- Tools And Setup Requirements
- Create a Multi-Vendor Marketplace (Step-by-Step)
- Manage Vendors and Monitor Performance
- Improve Listings and Organize Product Data
Store Exporter Deluxe and Product Importer Deluxe give you full control over vendor data and bulk product management—both essential to scaling your store without added stress.
Start building your marketplace today. Explore our plans and features to find the right tools for your WooCommerce multi-vendor marketplace.
