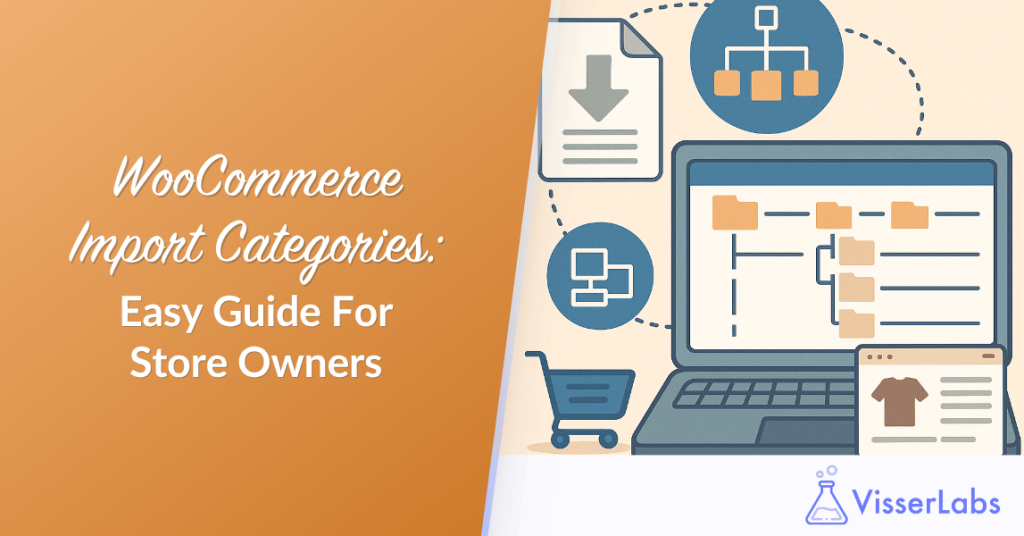
WooCommerce import categories is one of the first tasks store owners face when setting up or migrating an online shop. Whether you’re managing a handful of items or a catalog of thousands, organizing your product categories properly from the start is essential for both user navigation and SEO.
Manually creating categories in WooCommerce takes time and is prone to error. Importing them using a CSV file saves hours of work and ensures accuracy, especially when you’re dealing with hierarchical category structures.
This guide will walk you through how to import product categories into WooCommerce using both the built-in CSV importer and a more advanced import suite like Product Importer Deluxe.
We’ll also explain how this helps organize your store more efficiently and maintain consistent product data. The focus is to help you master WooCommerce import categories the right way.
Why Importing WooCommerce Categories Matters
Before adding any products, it’s helpful to set up your WooCommerce product categories in advance. A clear category structure not only helps customers navigate your store, it also improves how search engines understand your content. Properly managing WooCommerce import categories early sets your store up for success.
Importing categories using a CSV importer allows you to:
- Prepare categories in Excel or Google Sheets
- Map parent-child relationships ahead of time
- Maintain consistent slugs and descriptions
- Save time compared to manual entry
This approach also helps avoid issues during product import, especially when products are assigned to categories that don’t yet exist. That’s why WooCommerce import categories is a recommended step in your product data workflow.
Prepare Your Product Category CSV

To begin the import process, you’ll need to create a CSV file that lists your product categories. If you’re using Product Importer Deluxe, you can download this sample product CSV file provided by Visser Labs to get started.
Each row in your product CSV should include at least:
- Category name
- Slug
- Parent category (if applicable)
- Description (optional)
Using Excel or Google Sheets, create a simple spreadsheet and export it as a CSV file. Be sure to follow the format required by your chosen CSV importer. A well-prepared file makes WooCommerce import categories accurate and stress-free.
Use The Built-In WooCommerce CSV Importer
WooCommerce includes a basic product import tool located under Tools > Import > WooCommerce Products (CSV). This tool can import product categories if they’re part of a product import.
However, it has limitations. You can’t import categories on their own, and complex WooCommerce categories with parent-child relationships often require manual adjustments. So, this method might not be ideal if your goal is a clean and structured WooCommerce import categories setup.
If your import is simple and includes products, this method may work. Otherwise, skip to the next section for a more flexible solution.
Use Product Importer Deluxe To Import Categories
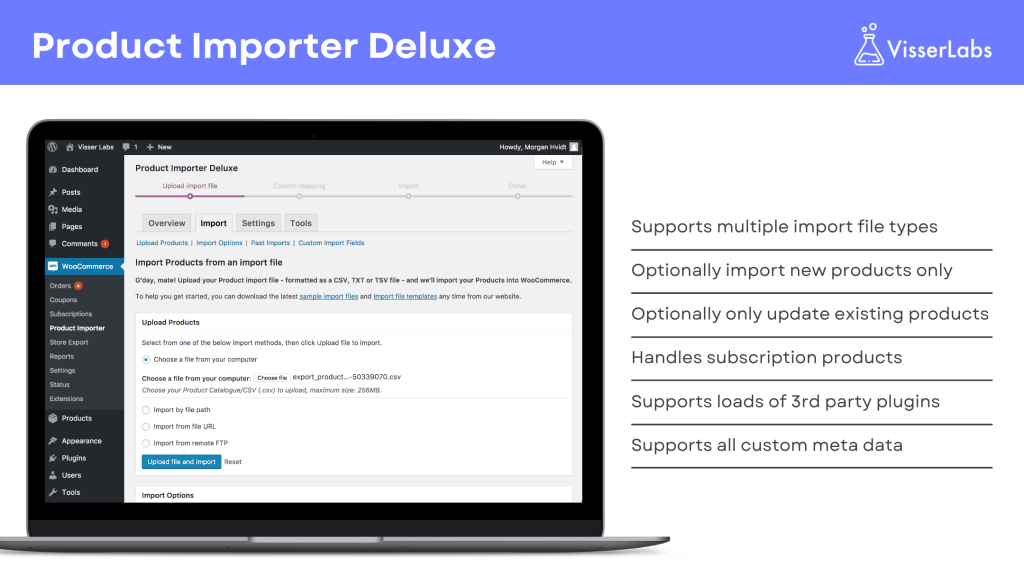
Visser Labs’ WooCommerce Product Importer Deluxe supports standalone category import and works with both simple and complex store setups. Here’s how to import using this tool:
Step 1: Upload Import File
Go to WooCommerce > Product Importer in your WordPress dashboard. Under the Quick Import tab, upload your import file using one of these methods:
- Upload from your computer
- Enter file path on your server
- Paste a file URL
- Use FTP/SFTP details
This flexibility in file uploads is one reason why Product Importer Deluxe is ideal for WooCommerce import categories.
Step 2: Perform Column Mapping
The plugin will detect your import columns and match them to WooCommerce fields. For example:
category_nameto Category Nameparent_categoryto Parent Categoryslugto Slug
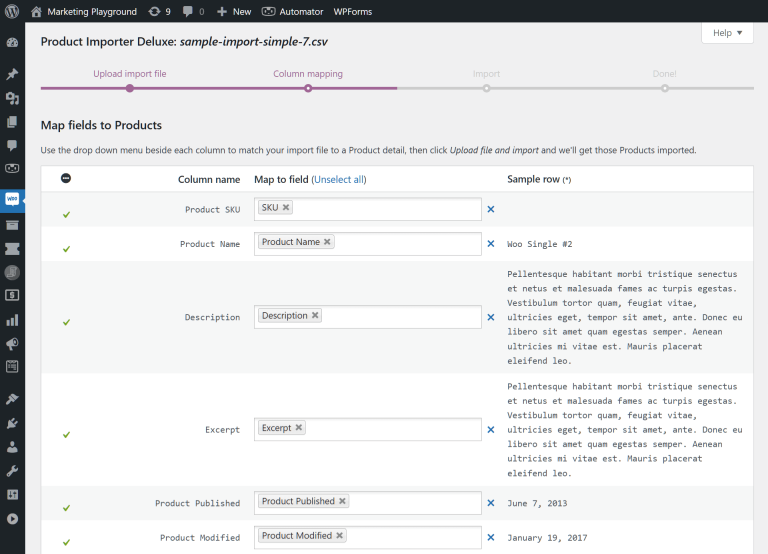
Preview your product data to verify the mapping. You can edit fields or let the plugin auto-match them. Proper mapping is critical when handling WooCommerce import categories with nested relationships.
Step 3: Adjust Import Settings
Configure your import settings under Import Options:
- Choose an import method (new entries, merge, skip duplicates)
- Select how to handle images
- Tweak advanced options like script timeout and batch size
When ready, start the import and watch the progress bar. Once done, click Finish Import.
Import Categories With Products
If you’re performing a full WooCommerce product import, you can also assign WooCommerce categories during the process. Tools like Product Importer Deluxe allow you to map categories to each product row in your product CSV import.
Use the Taxonomies section to:
- Enable hierarchical product categories in WooCommerce
- Use structured data like “Men > Shirts > Casual”
- Support multiple category assignments
This is ideal when migrating from another platform or syncing catalogs. Remember, while categories are essential for broad organization, a WooCommerce product tag is perfect for creating specific, cross-category labels that help customers find related items. Just like categories, tags can be imported and assigned to products in bulk using your CSV file and the column mapping feature.
Troubleshooting Category Import Issues
Sometimes, imports don’t go as expected. Here are common issues and how to fix them:
- Missing parent categories: Make sure parent categories appear before children in the CSV
- Incorrect slugs: Avoid duplicates and use lowercase with hyphens
- Blank fields: Check your Google Sheets or Excel file for formatting errors
- Encoding issues: Save your CSV as UTF-8
If issues persist, check your import export plugin settings or refer to the plugin’s documentation. Troubleshooting is a key part of any WooCommerce import categories workflow.
Export Categories For Backup Or Migration
Need to reuse or migrate your WooCommerce product categories? You can export WooCommerce data using a plugin.
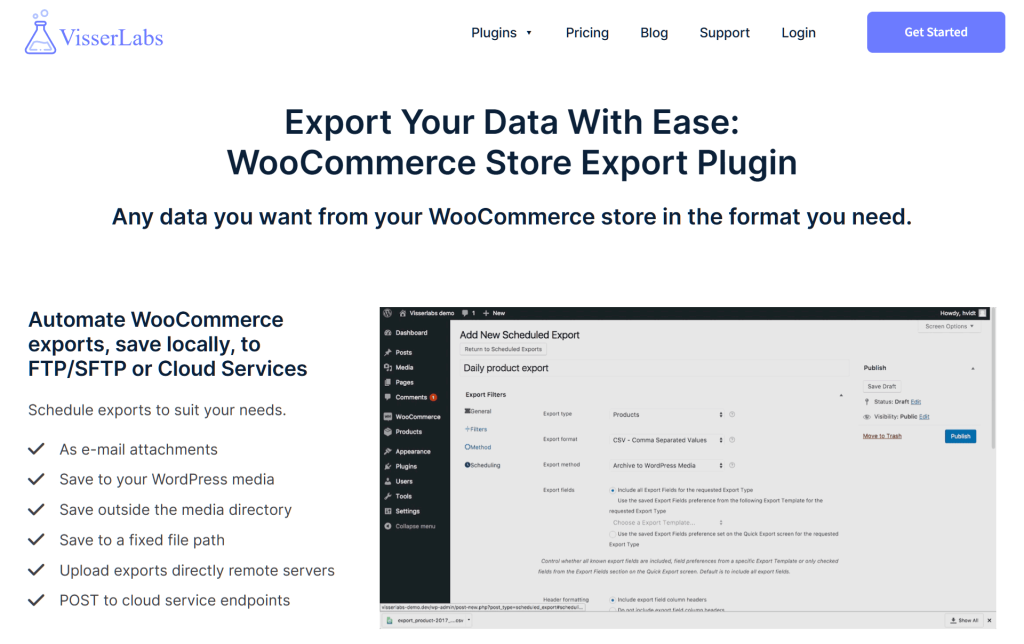
Visser Labs offers a powerful solution in Store Exporter Deluxe. This tool lets you:
- Export product data including categories
- Customize export columns
- Choose CSV or XML formats
- Automate recurring exports
It’s ideal for backups or moving data between sites. For a quick read on format differences, check out our guide on CSV vs XML.
Tips For Managing Categories
Here are a few tips to make category management easier:
- Plan your category structure before importing
- Always review the import file for errors
- Maintain consistency in naming and slugs
- Use a dedicated import export plugin for advanced needs
Proper category organization improves customer experience and search rankings.
Conclusion
Importing categories in WooCommerce doesn’t have to be complicated. By preparing a clean product CSV, choosing the right import method, and using a powerful csv importer, you can structure your store more effectively.
To recap, here’s what you need to know:
- Why Importing WooCommerce Categories Matters
- Prepare Your Product Category CSV
- Use the Built-In WooCommerce CSV Importer
- Use Product Importer Deluxe to Import Categories
- Import Categories with Products
- Troubleshooting Category Import Issues
- Export Categories for Backup or Migration
- Tips for Managing Categories
Tools like Product Importer Deluxe and Store Exporter Deluxe simplify every step of the import export process. Whether you’re starting fresh or managing ongoing updates, they give you the control you need to organize your WooCommerce store properly.
Want to take the next step? Check out Product Importer Deluxe and start importing smarter today.
Frequently Asked Questions
How do I import WooCommerce categories only?
Use Product Importer Deluxe and select “Taxonomies” as the import type.
Can I create product categories directly in WooCommerce?
Yes. Go to Products > Categories and use the fields provided.
What if I want to import product attributes too?
Product Importer Deluxe supports product attributes as part of your import.
Can I use an XML file instead of CSV?
Yes. Both Store Exporter Deluxe and Product Importer Deluxe support XML files.


